Configure a Configurable List
A Configurable List is a repeating table on a form: you define rows and columns in the designer, and fillers add or remove data rows when they submit. Add it from Widgets, then configure Fields, column types, and whether fillers may delete rows.
Example
On Maple Commerce Center's daily report, we use a Configurable List labeled Crew on site with columns for name, trade, and hours so True Line Concrete can log who worked that day.
Before you start
You need a Tenant Admin or Manager seat and a form definition you can edit.
Add the list
- Open the Form Designer.
- From Widgets, add Configurable List.
- Set Label and optional Description on the General tab.
Configure rows and columns
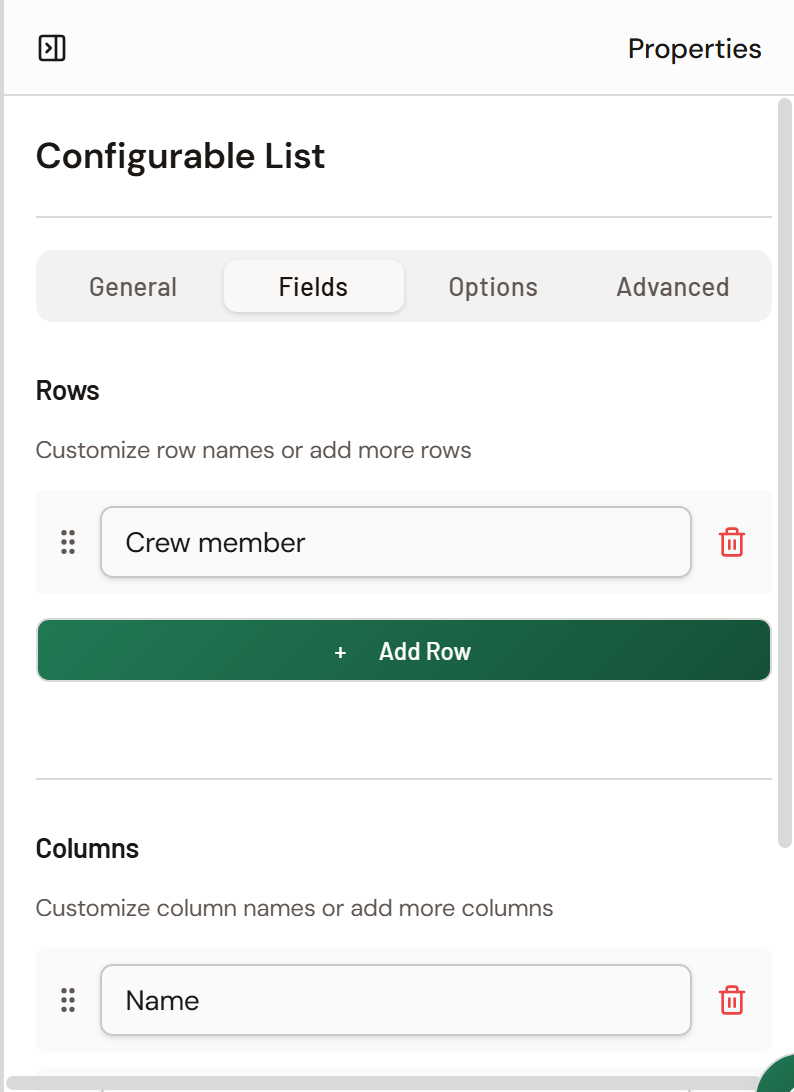
- Open the Fields tab.
- Under Rows, rename template rows or click Add Row.
- Under Columns, rename columns or click Add Column.
- On the Options tab, set each column's type: Radio Button, Checkbox, Dropdown, Textbox, Numeric, or Currency (and Dropdown Options when needed).
- On Advanced, set Minimum Rows, Maximum Rows, Add Button Label, and Allow Row Deletion.
What fillers see
Fillers complete cells for each row. They use the add control labeled with your Add Button Label (or Add Row). They can delete a row only when Allow Row Deletion is on.