Build a form from scratch
Building a form from scratch means starting from Blank Form, adding your own fields, deploying the form to a project, and publishing it so contributors can submit. Open Forms, choose Create New Form, pick Blank Form, complete the wizard steps, then Publish on the form card.
This walkthrough starts from Blank Form. If you already installed the construction starter pack, you can start from Request for Information instead of drawing fields by hand. Your Formis tenant's forms may use different fields and names because Formis forms are configured to how you run the work.
In our sample project, Maple Commerce Center, we create a short site-note form named Site Note, deploy it, and publish it.
You need a Tenant Admin or Manager seat. To deploy on step 4 you need at least one active project.
Create a blank form
- Open Forms (
/form). - Click Create New Form at the top right (or Create New Form on the empty state).
- On Choose Starting Point, click the Blank Form card.
- Click Next Step.
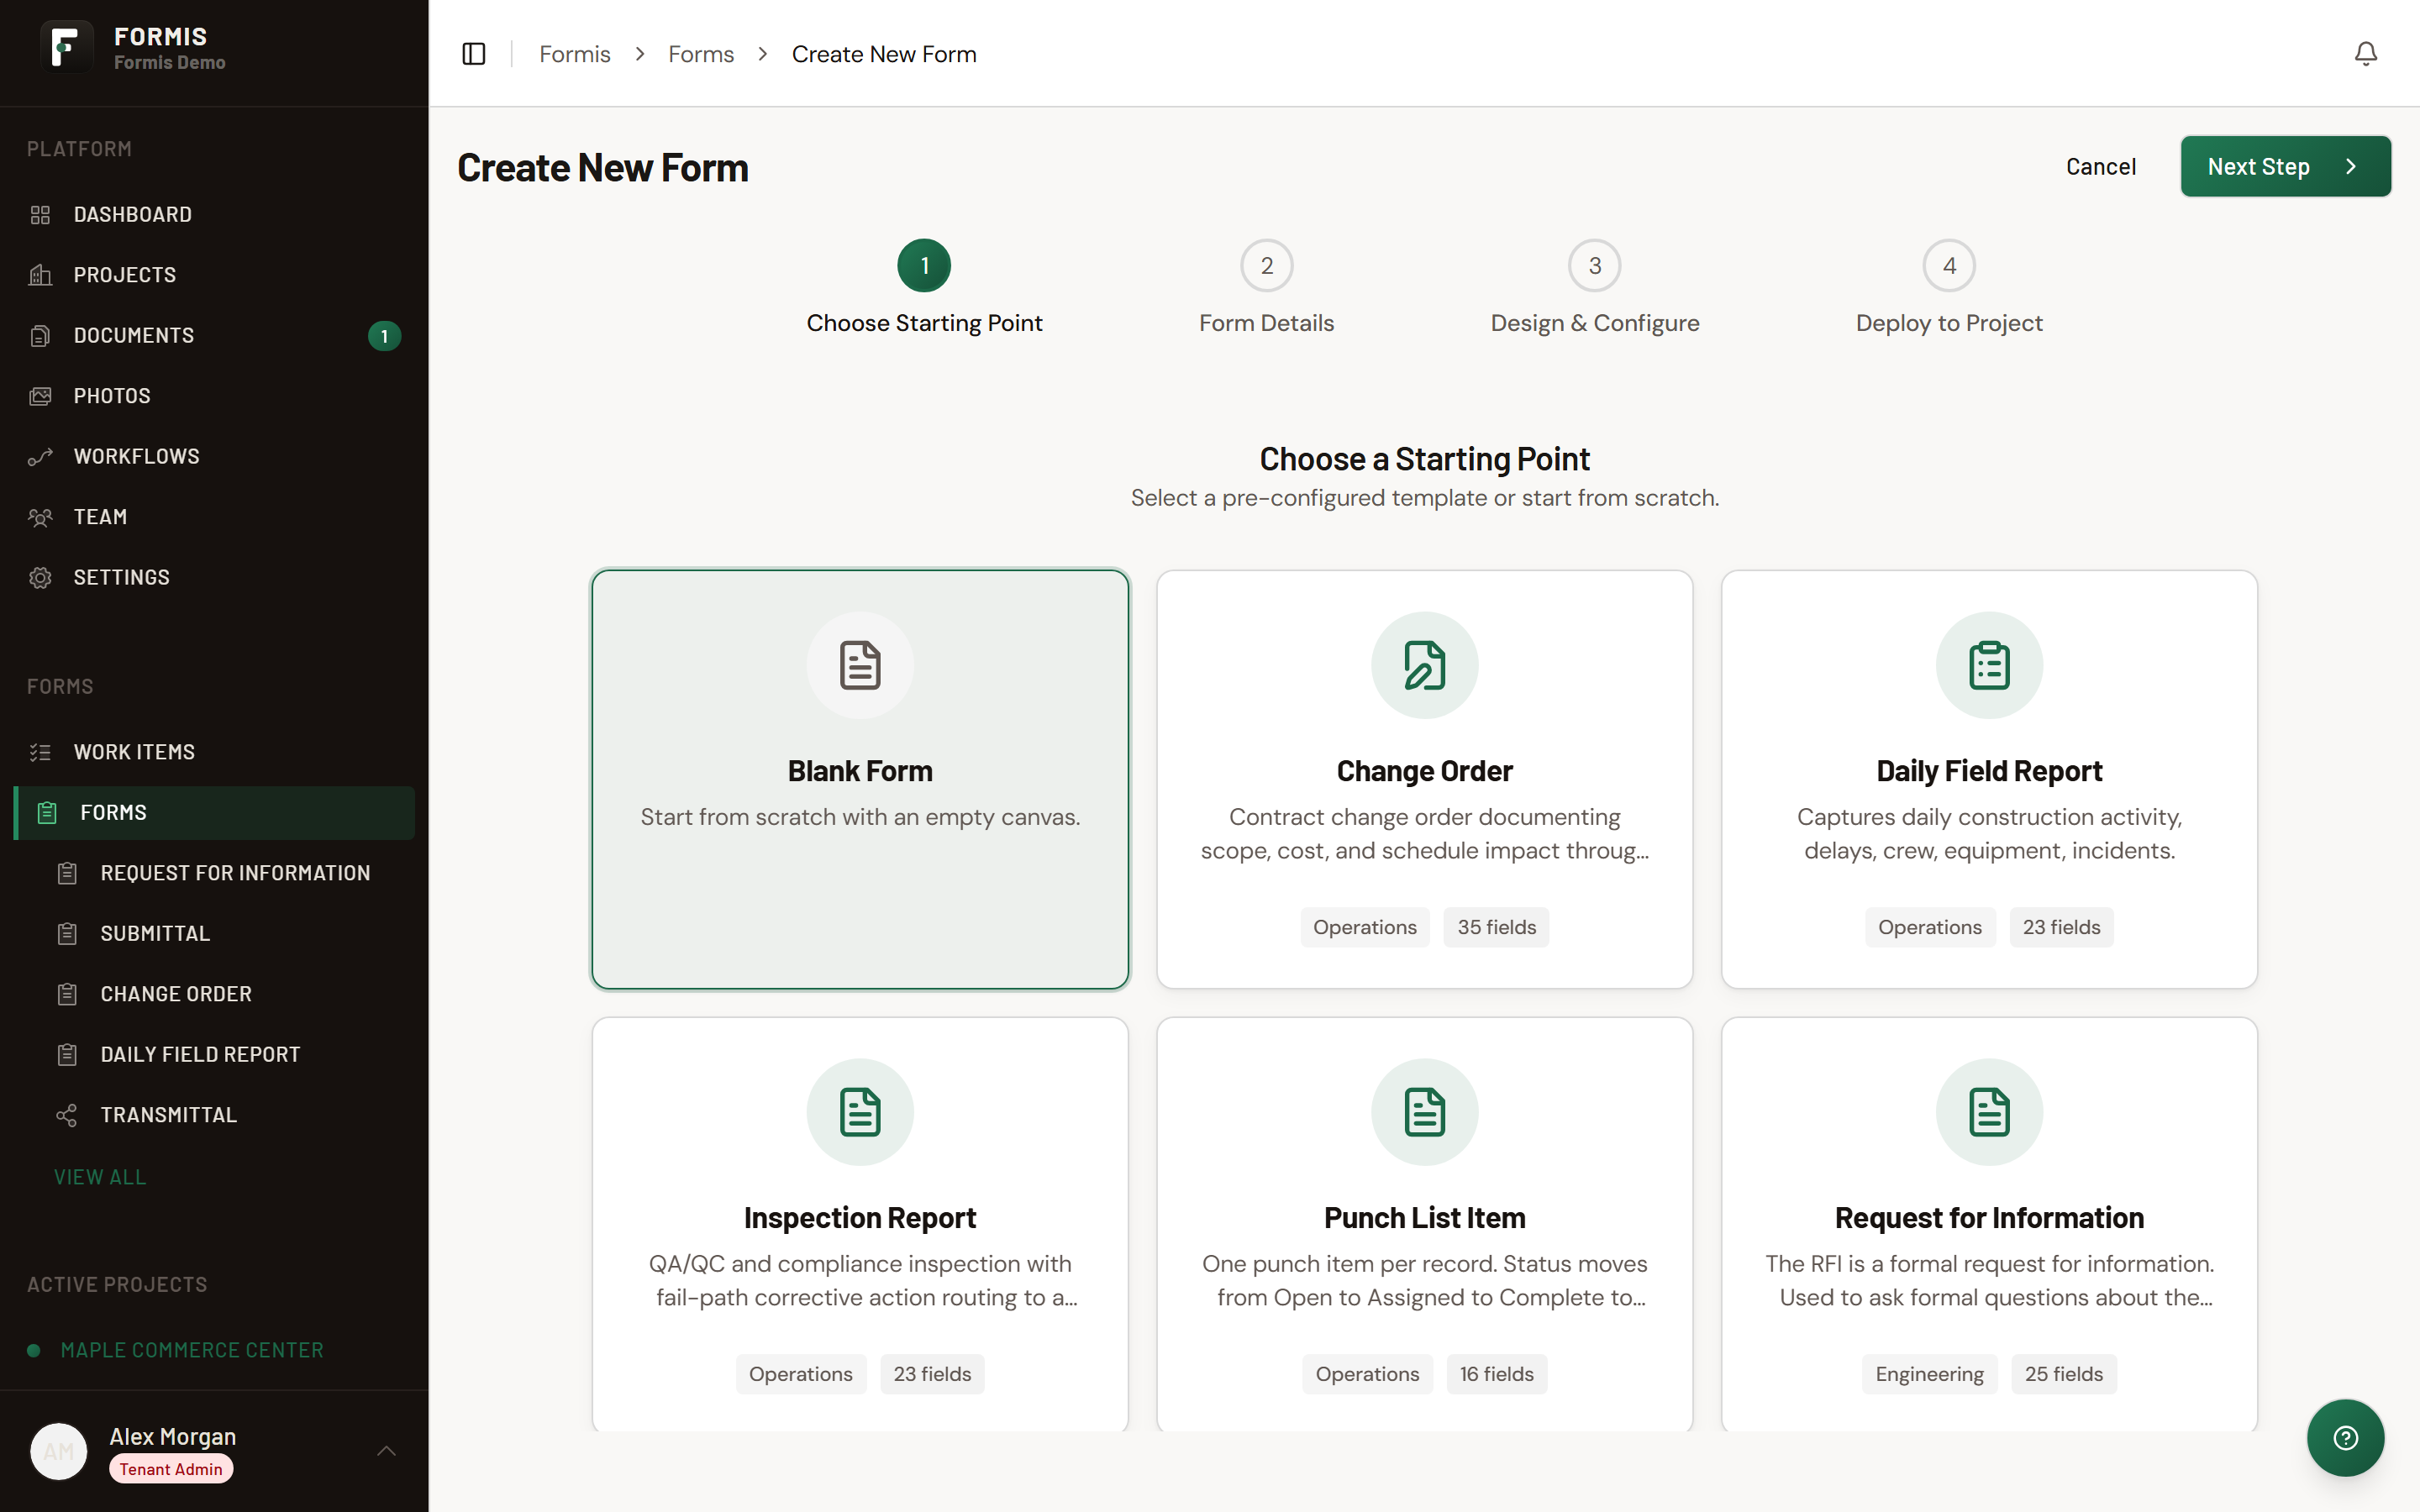
Form Details (step 2)
- Enter a Form name (for example, Site Note) and optional description.
- Set the Form code prefix if your tenant uses codes.
- Click Next Step.
Design and configure (step 3)
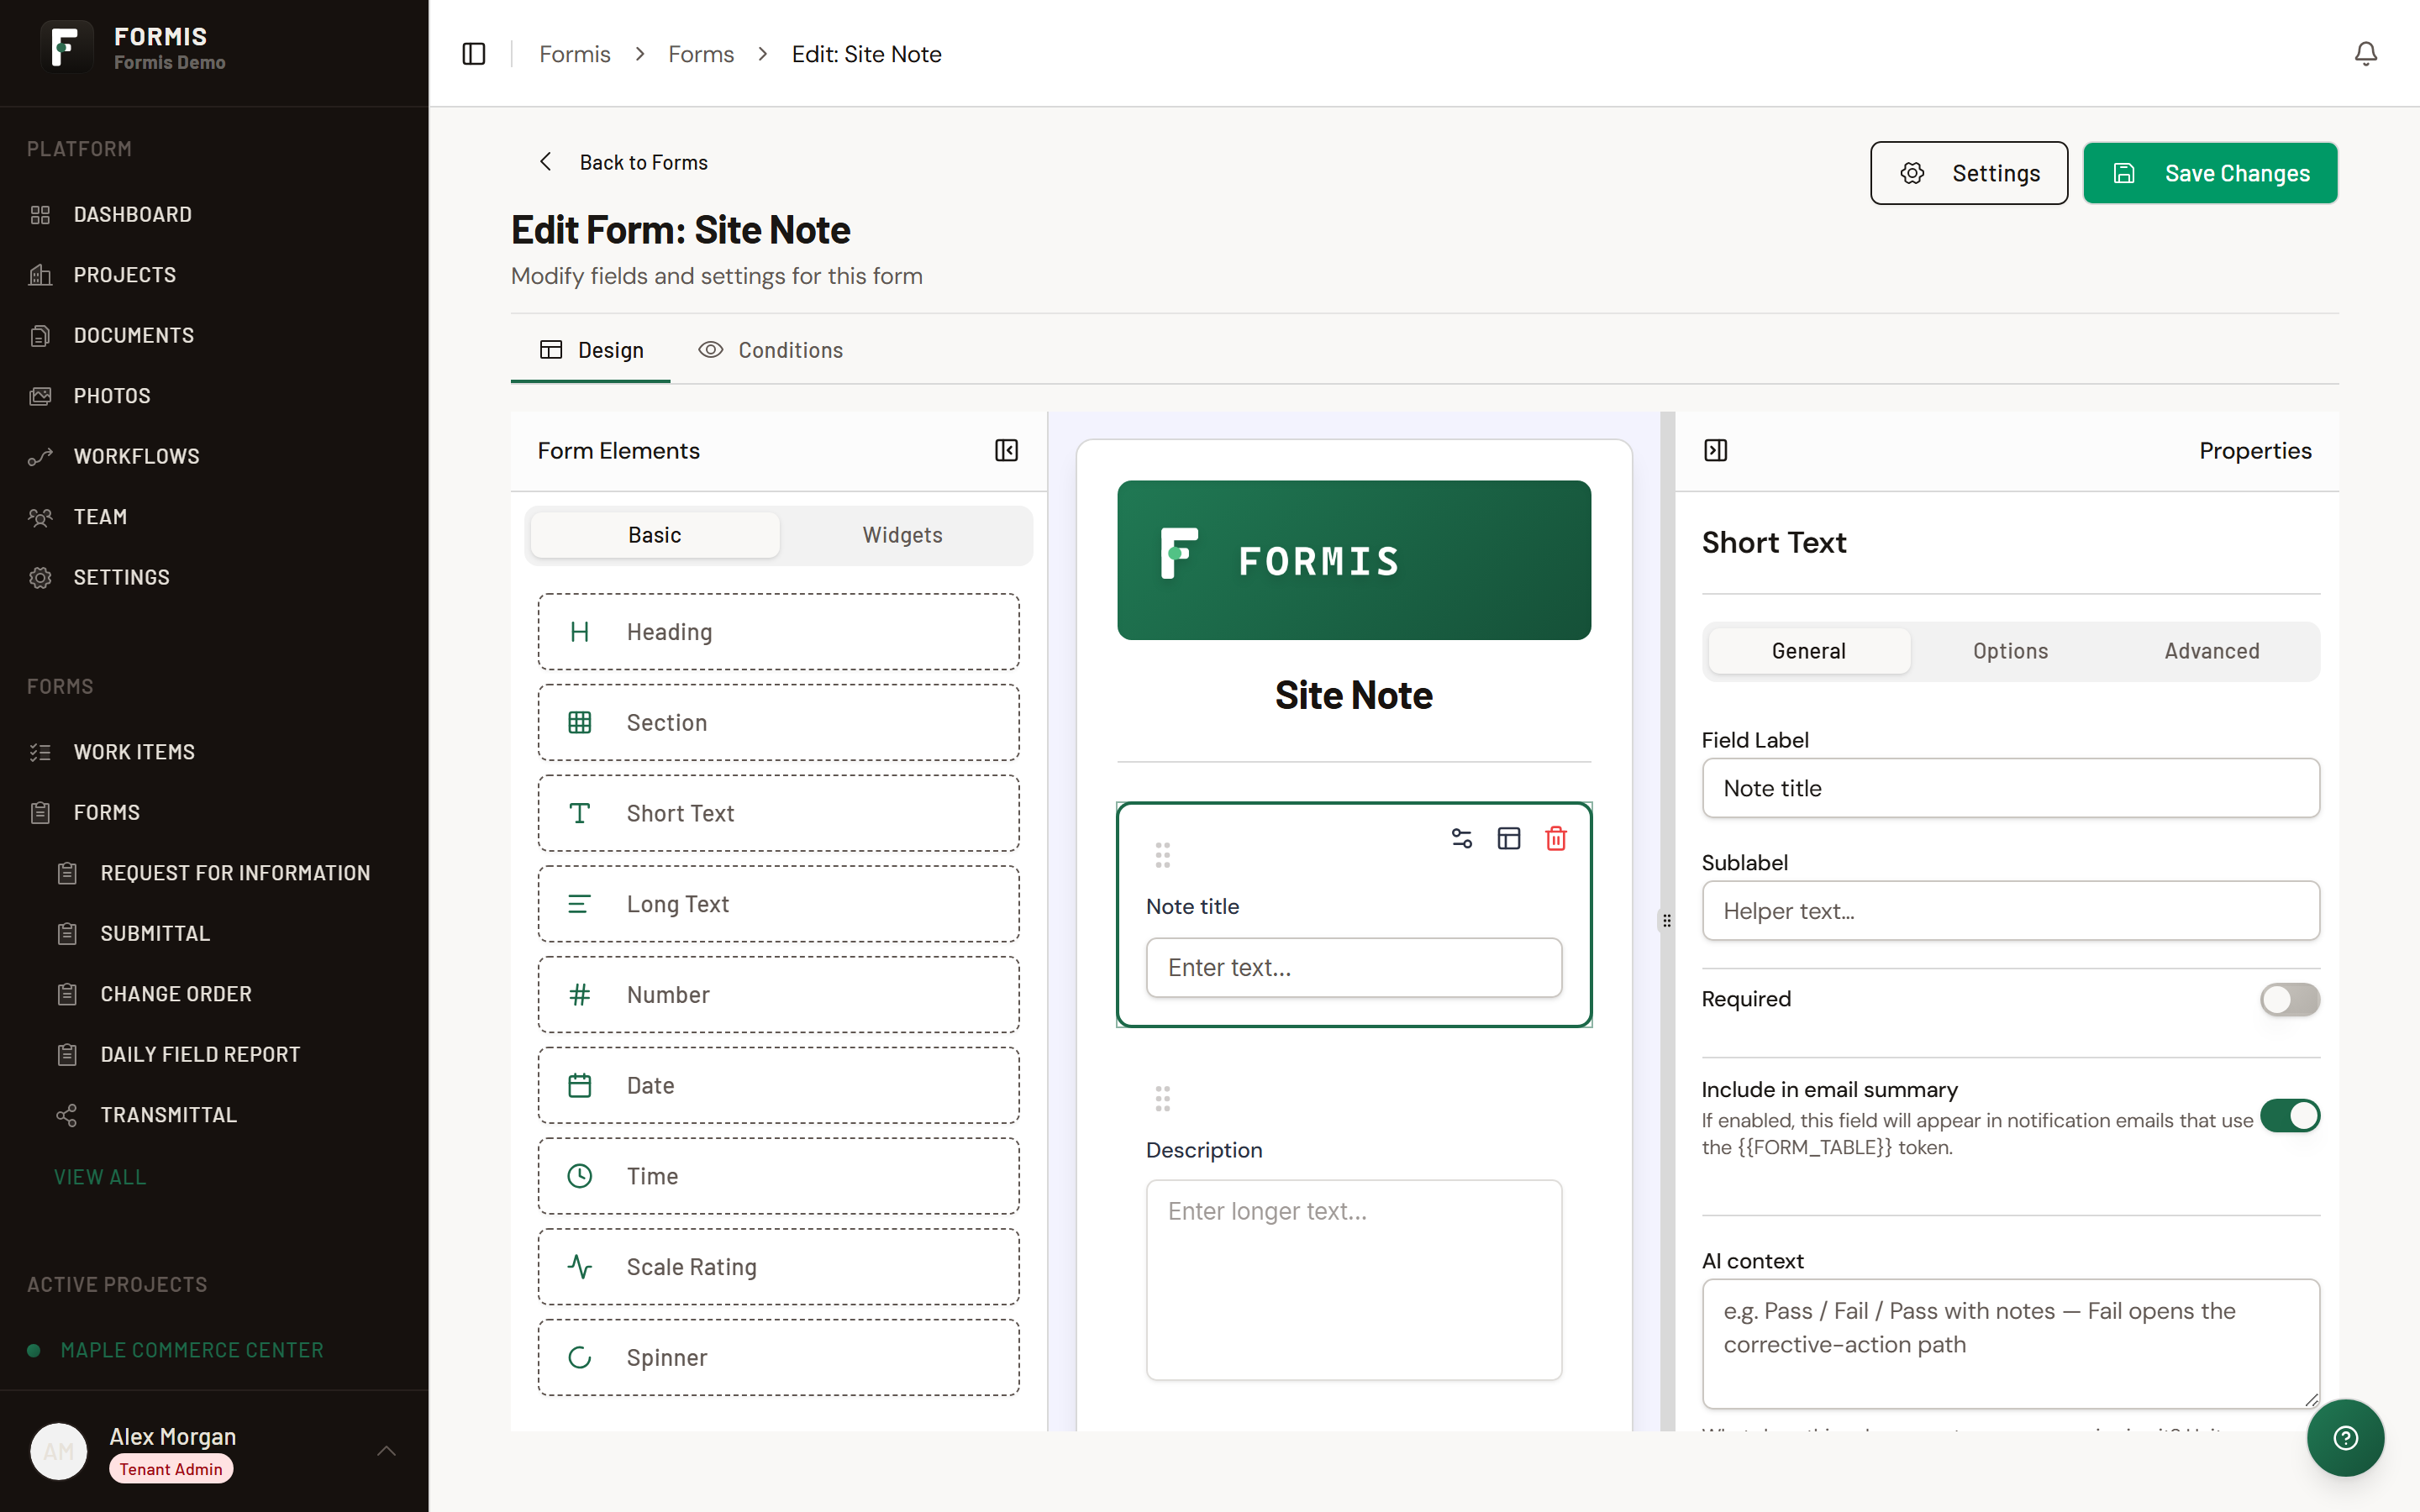
- Add fields from the palette (text, date, dropdown, attachment, and others). For a site note, a short title and a long description are enough to save a draft.
- Select a field to edit labels, validation, and visibility rules in the inspector.
- When the schema looks right, click Next on this step (the save control labeled Next).
Formis saves the draft and advances to deployment.
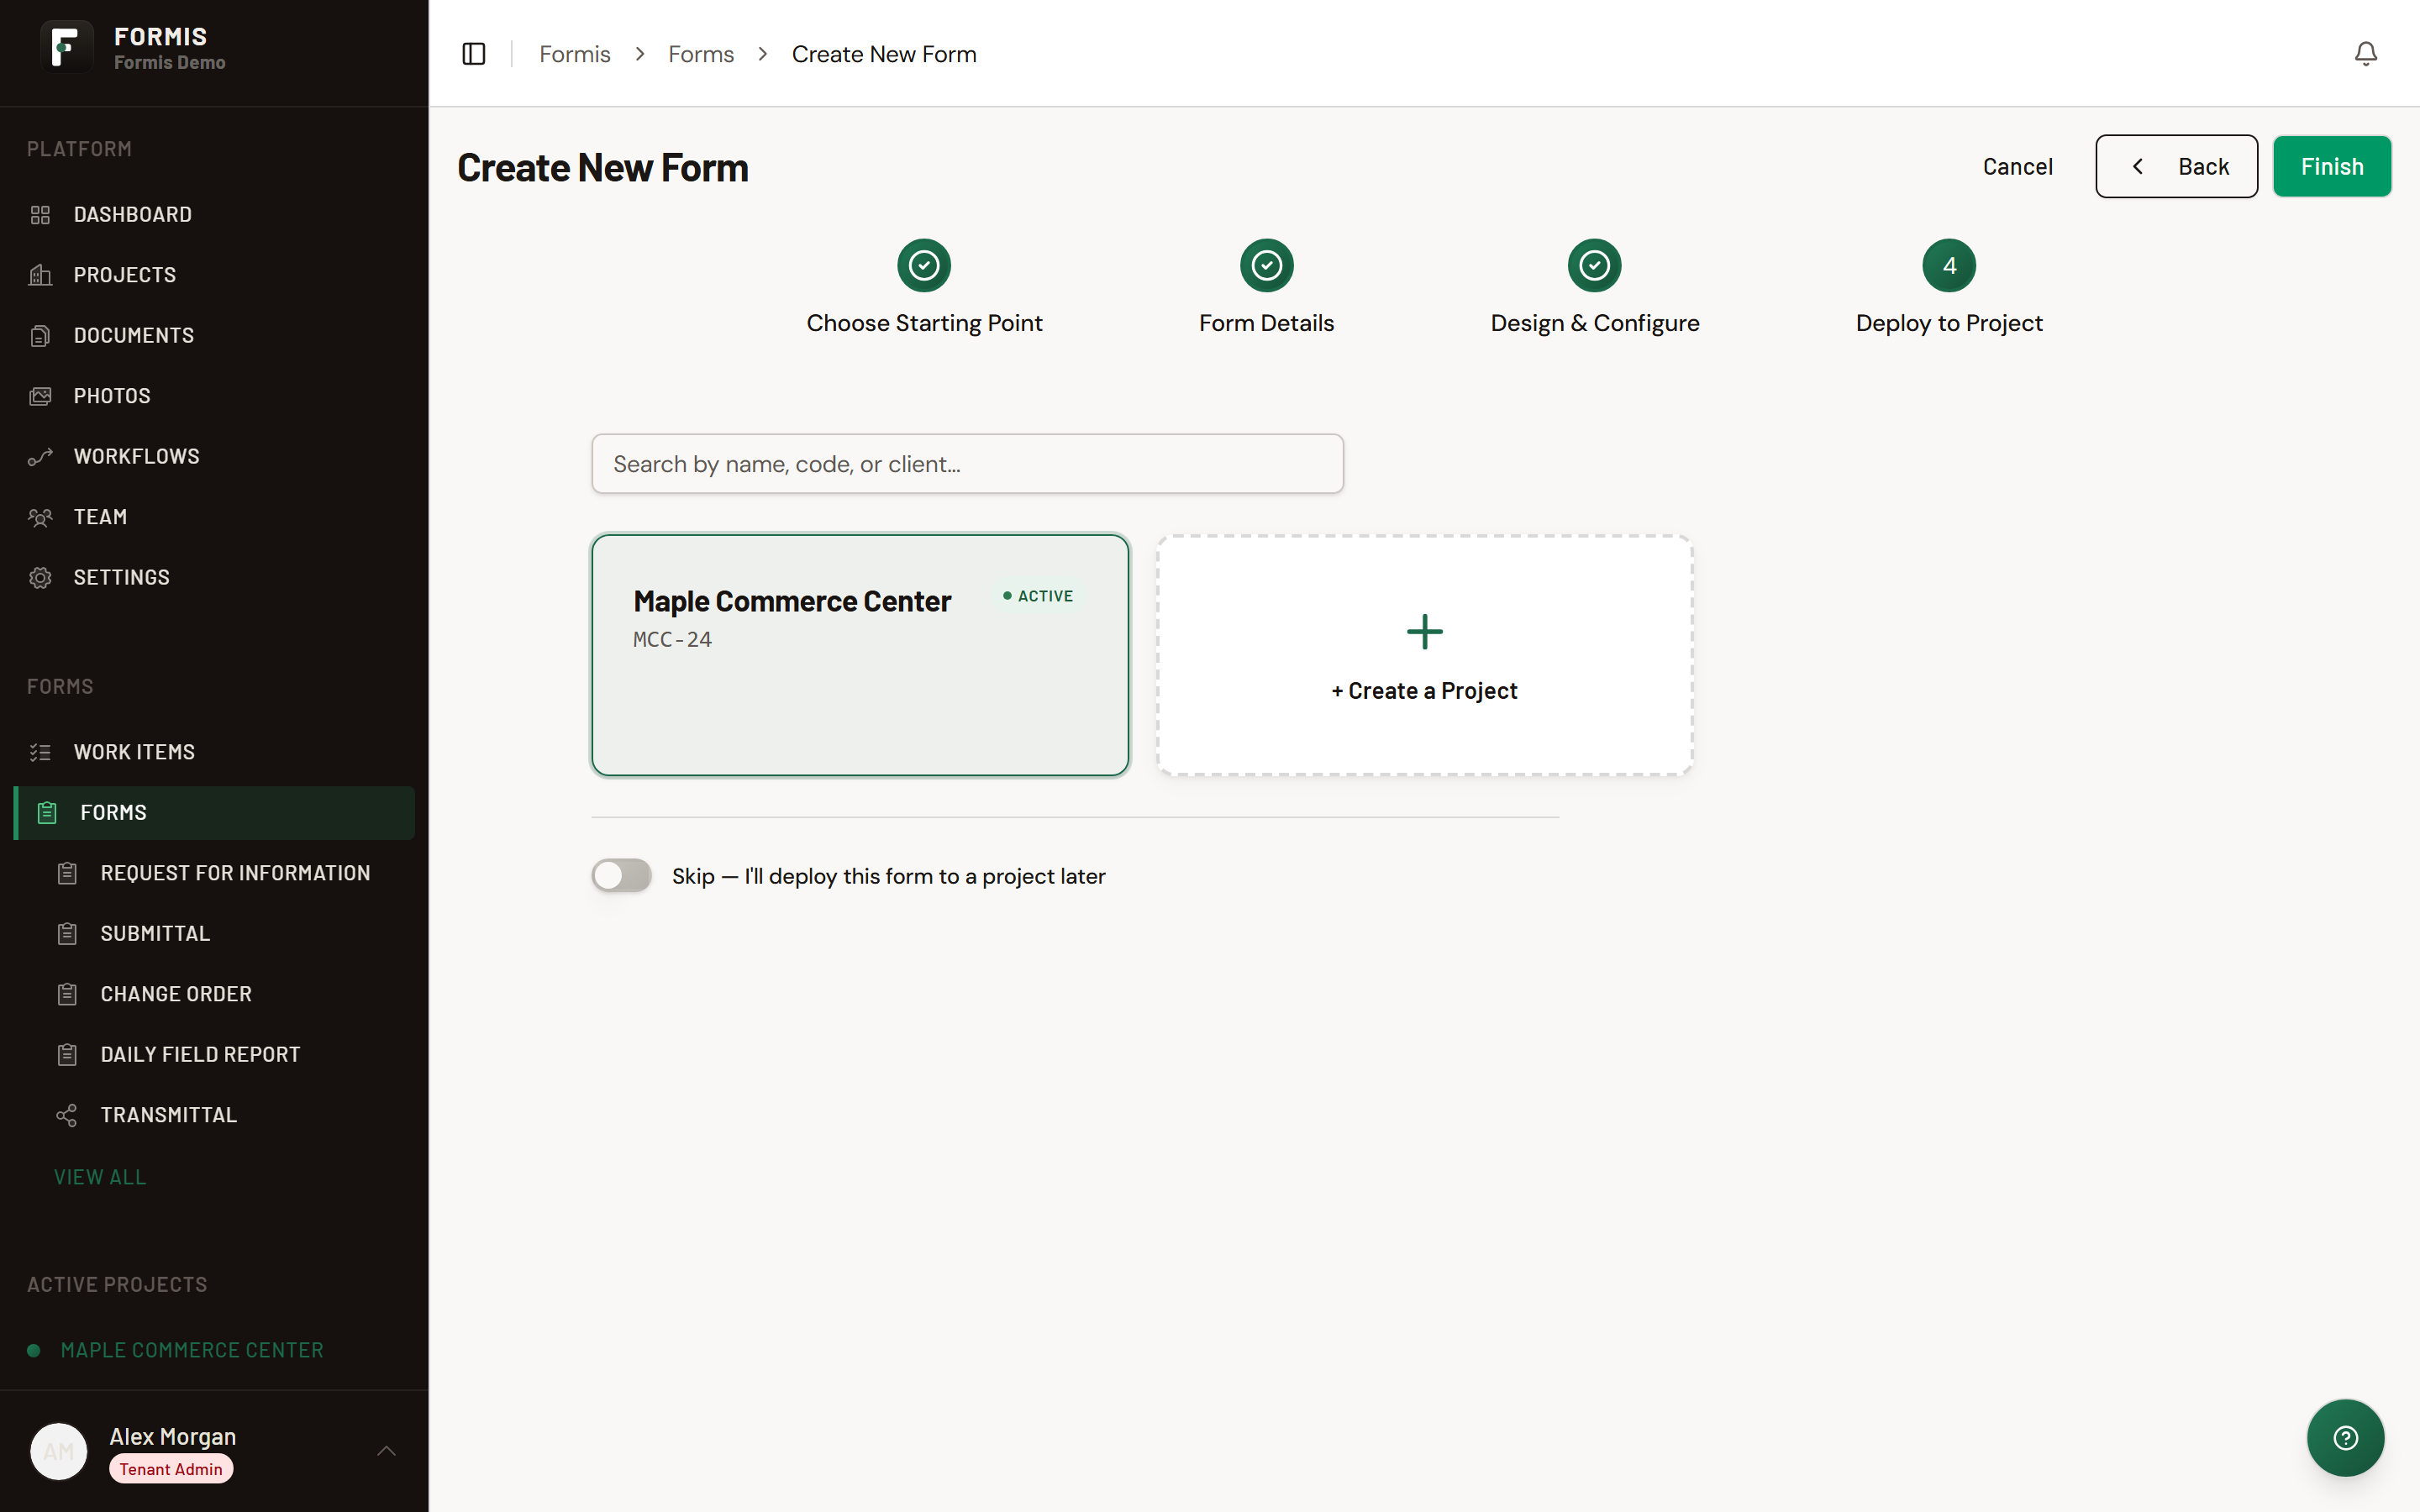
Deploy to project (step 4)
- Search or pick the project card for your project (for example, Maple Commerce Center).
- Tenant Admin only: turn on Skip: I'll deploy this form to a project later if you want a tenant-wide draft first. The form stays hidden from project members until you deploy it later.
- Click Finish.
Tenant Admins may see an option to finish without assigning a project. Use it only when you will deploy later.
When deployment succeeds, Formis shows Form Created Successfully! You can Open form builder to keep editing or return to Forms.
Publish the form
Draft forms are visible to admins on Forms but not to contributors until published:
- On Forms, open the form menu on the card.
- Click Publish (or use the Publish button on the card).
Published forms appear in the project sidebar and in the setup wizard deploy list.
You can also start from a template card instead of Blank Form if your tenant has templates installed, including Request for Information.
After the wizard, attach a workflow (the routing path for submissions) from the form's workflow tab or from Workflows.
The legacy /forms URL redirects to /form.
Related
- Run the setup wizard
- Install a form from the library
- Submit a form and track it
- Form field types and settings
- Configure a Form Calculation
- Configure an Image Upload field
- Configure a Configurable List
- Show or hide fields with conditions
- What happens when you edit a form that already has submissions
- Configure routing and approvals
- Pre-Submission Insight
- Invite your team and assign seats