Configure an Image Upload field
An Image Upload field lets people attach photos on a submission and, when you enable markup, draw on those photos with a freehand pen and layers inside the form. Add it from the Form Designer Widgets tab, set Enable markup / draw in Properties, then publish.
Example
In our sample project, Maple Commerce Center, we add Site photo to Site Note so John can upload a slab photo and circle the pour line before he submits.
Before you start
You need a Tenant Admin or Manager seat and a form definition you can edit.
Add Image Upload on the canvas
- Open the form in the Form Designer.
- On Form Elements, open the Widgets tab.
- Drag Image Upload onto the canvas (or add it from the palette).
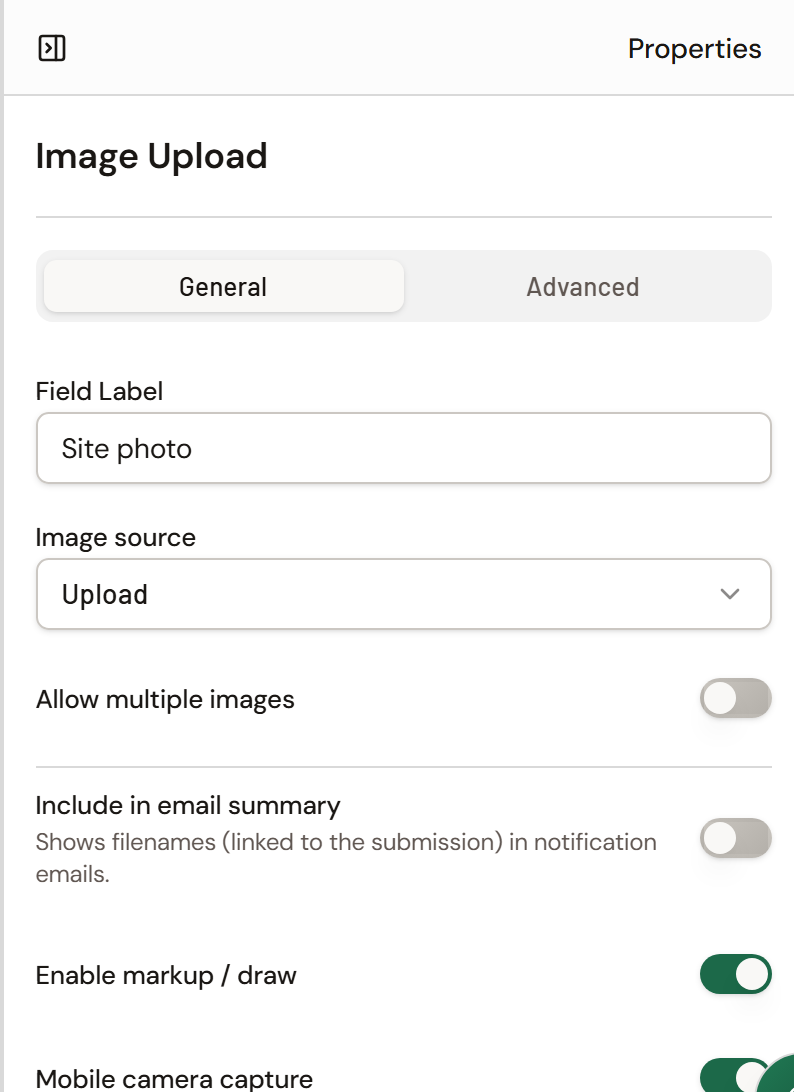
- Select the field. In Properties → General, set Field Label (for example, Site photo).
Turn on markup
- Still under General, turn on Enable markup / draw.
- Optionally set Allow multiple images, Max images, Mobile camera capture, and Alignment.
- Under Advanced, set Default markup pen color and Default markup pen width if you want defaults for fillers.
- Save and publish when ready.
What markup looks like on a submission
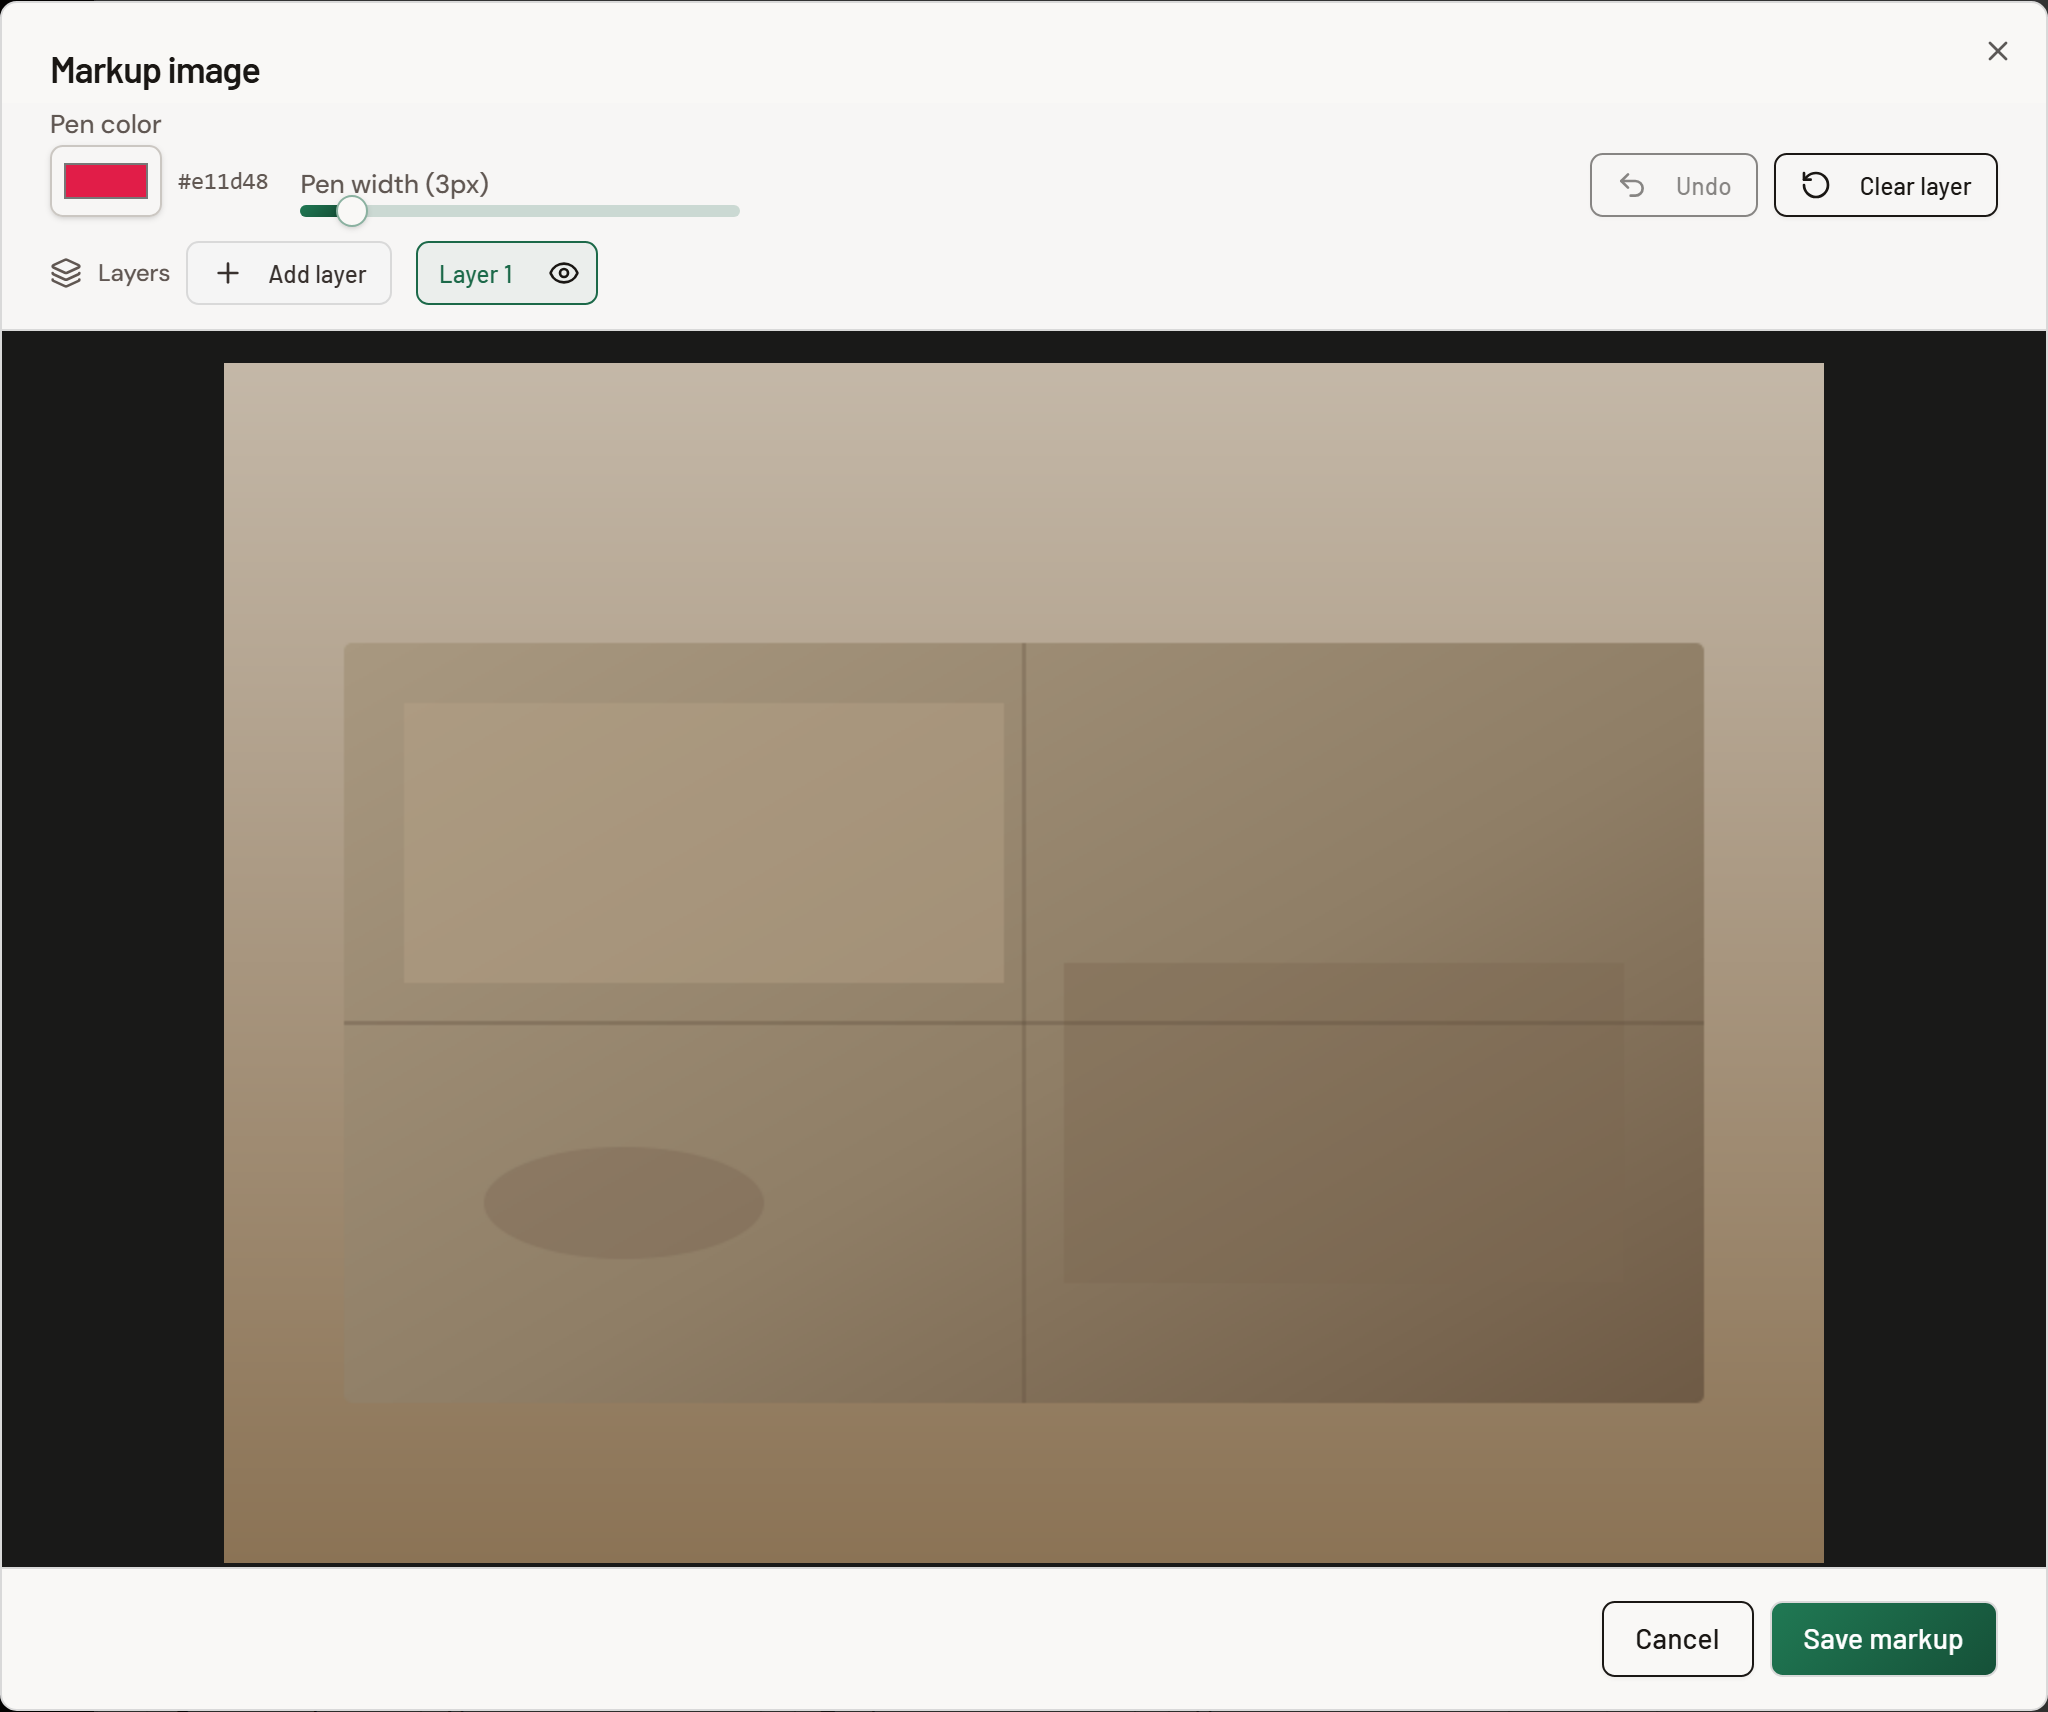
When markup is enabled, the filler opens Markup image. Tools shipped on this field:
- Freehand pen (color and width)
- Undo
- Clear layer
- Layers / Add layer (show, hide, or delete a layer)
Markup on this field is a freehand pen with layers.